

ZEN AND THE ART OF TURNTABLE MAINTENANCE
/There is certainly an art to maintaining a Linn LP12, and it really is a labour of love. What follows is a brief [okay, fairly brief…] dive into the process!
We recommend that you have your LP12 serviced every five years or so. Think of it more like maintaining a car. If you keep up with regular maintenance, your deck won’t need to be completely stripped like the one we are going to describe below.
(This is only an insight into a typical full service, and not an instruction manual. Always have your LP12 serviced by a Linn authorised service agent with plenty of experience.)
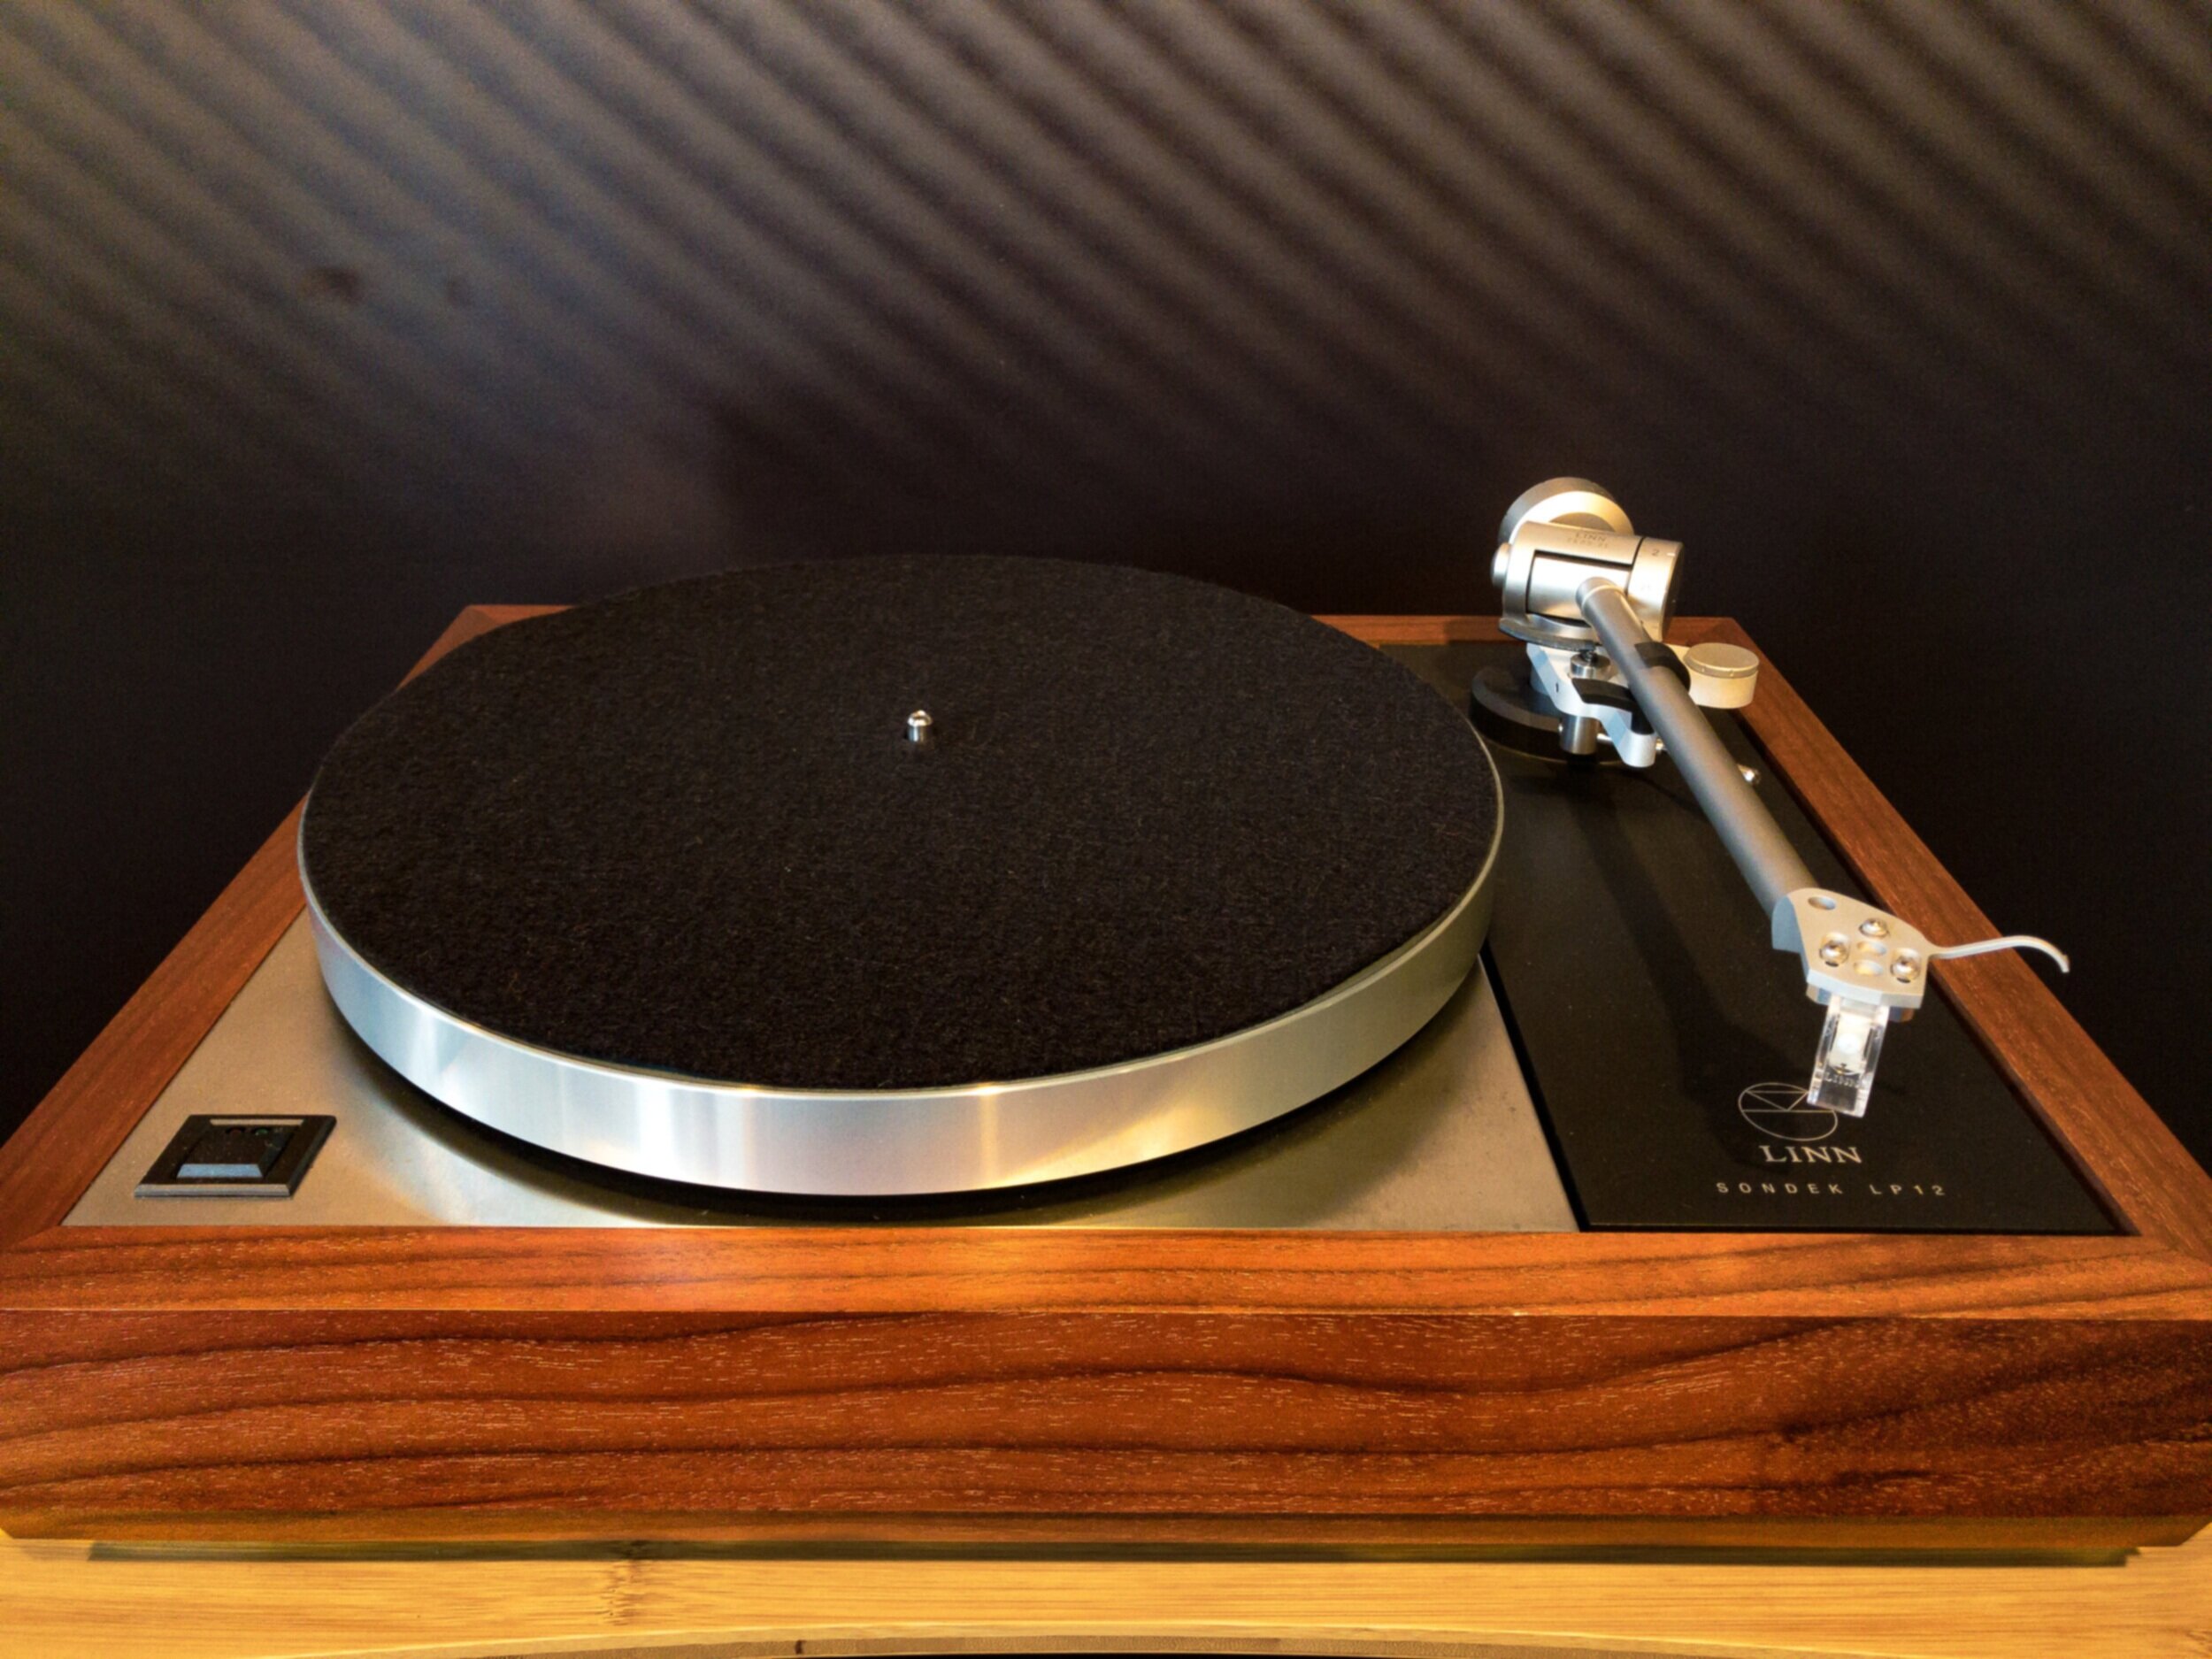
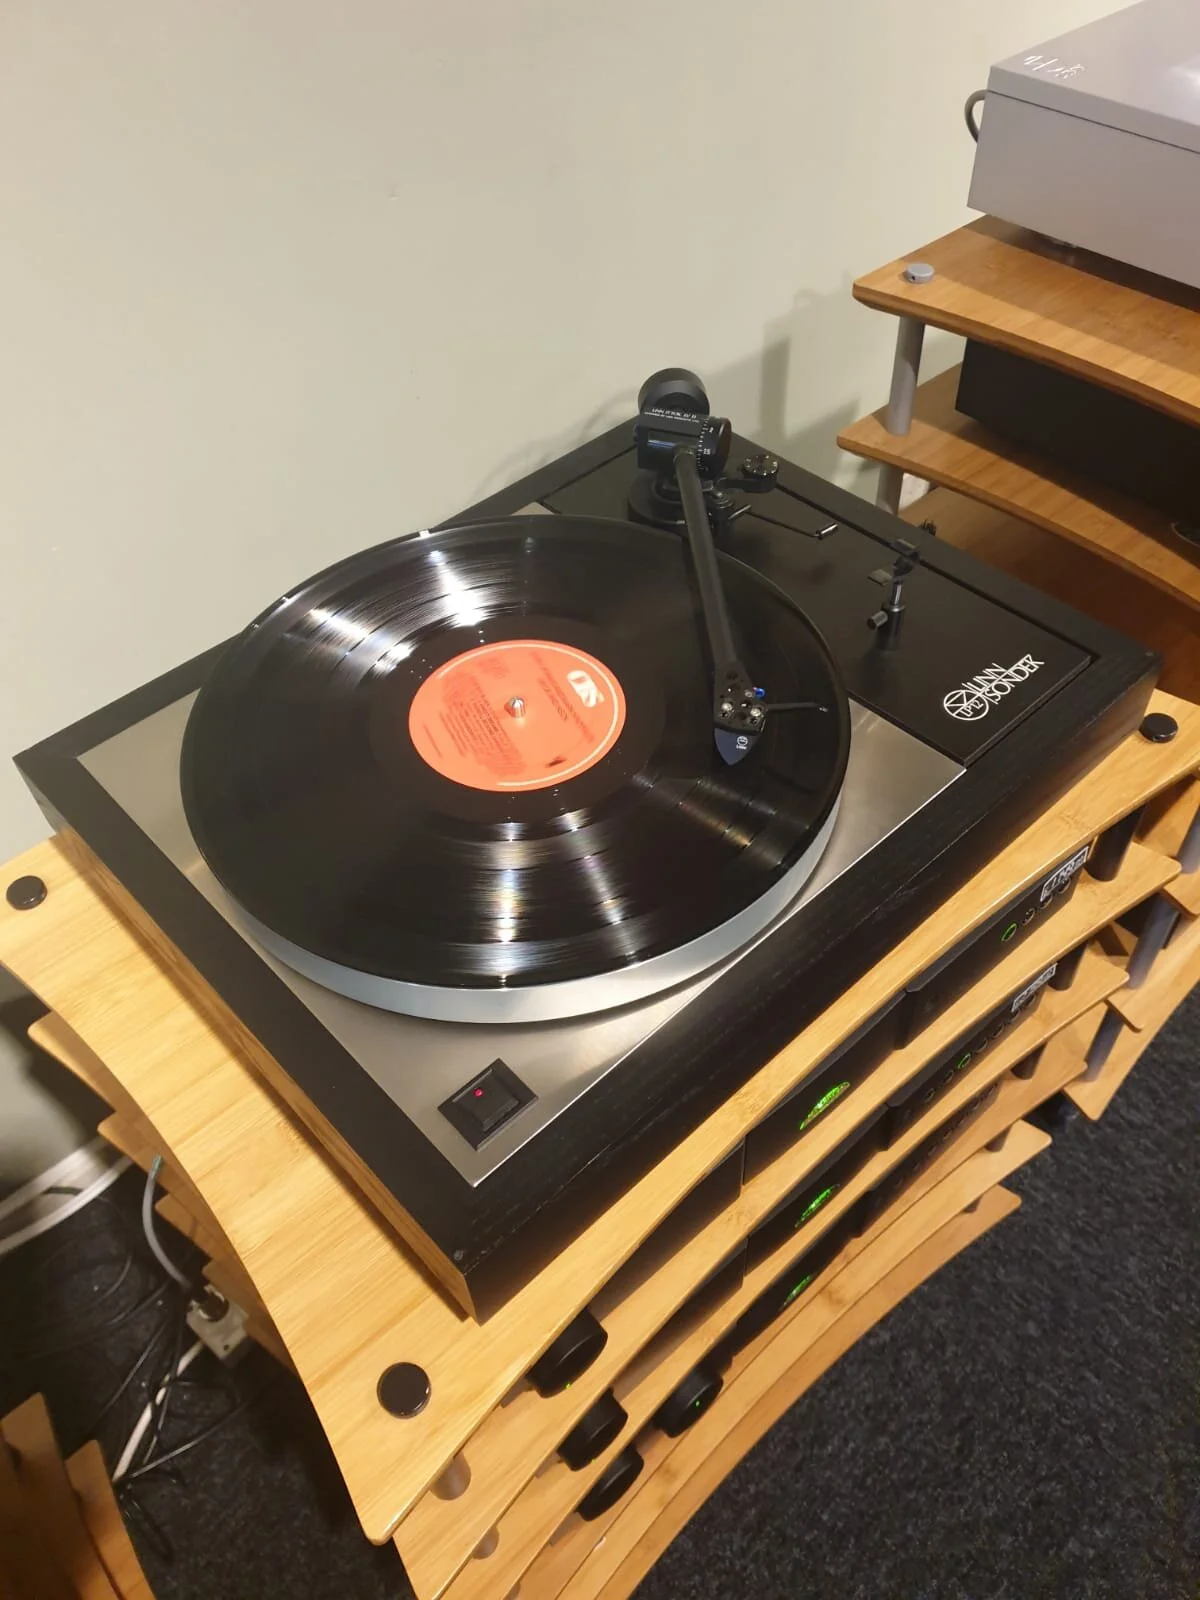
Linn Klimax LP12.
But what about that faithful LP12 on the shelf, that sees regular use but hasn’t been looked at in a decade or more? Or maybe you’ve inherited an old one that could use some TLC… we’ve even had reports of people finding them in skips after a house clearance (never happens to me…)!
Well, even if the deck has never been looked at and is in pretty bad shape, it’s not the end. All but the most extreme damage can be rectified. Here we have a typical example of that, a customer’s old deck with a decent spec, but in need of a service - so we got the camera out!!
What happens first?

LP12 on the ‘jig’, ready to begin.
Firstly, the turntable is fitted to this contraption they call a jig. The jig is essential to servicing LP12s, as it allows access to the inside of the turntable from underneath as well as having height adjustable feet to allow us to get the deck perfectly level, which is essential when adjusting the suspension.

Outer and inner platters removed.
Next we remove the outer platter, followed by the inner platter and block off the bearing hub, to stop dust and dirt getting inside.
You can see dirt on the top plate quite clearly here. This will be years of dust, fingerprints, things that come with general day to day use. This is actually relatively clean compared to some we see, but we’ll still clean it up regardless.
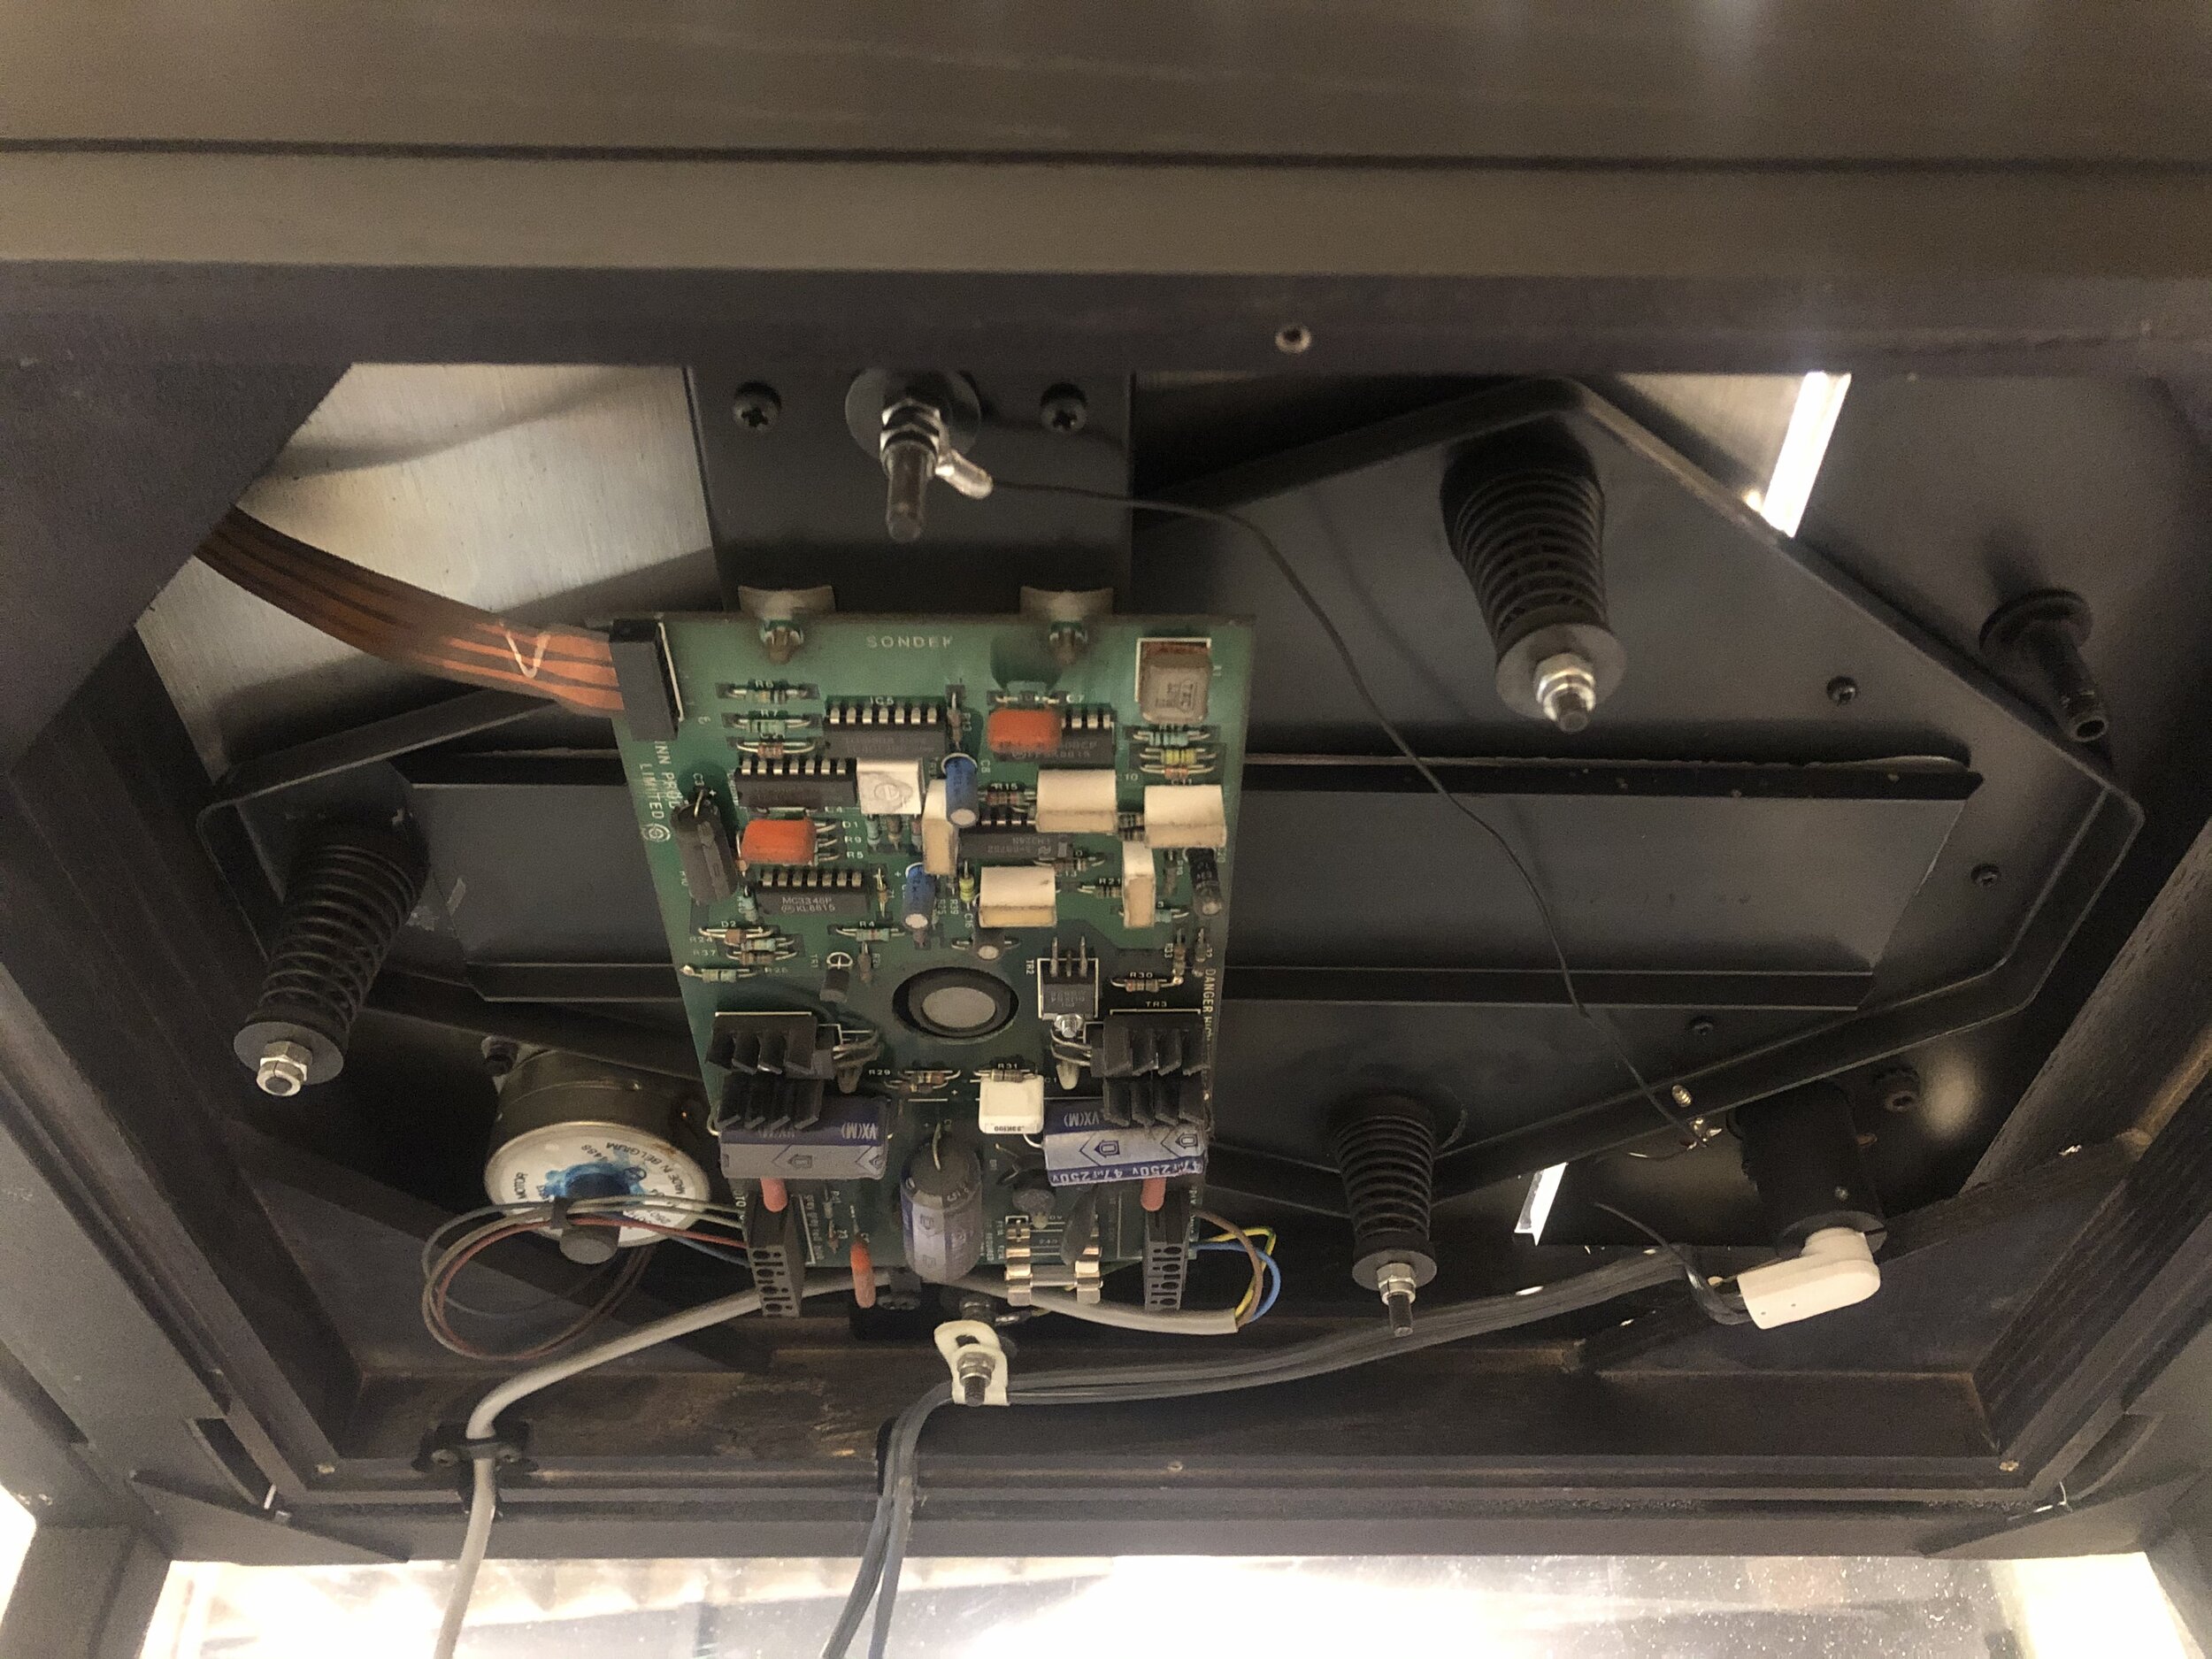
Inside the turntable from below, this particular deck has a Valhalla power supply.
Then we inspect the inside from below, to determine; what power supply, whether the sub-chassis is glued or welded, and just a general check on what condition everything is in before we start. In this case we have a Valhalla power supply, attached to the wiring strap.
You can usually determine what power supply is inside just by looking at the power switch, but what this does confirm is whether there are any burnt components or signs of it needing a service.
Time to start removing bits!

Linn Ittok Arm Collar on Armboard.
Once we’ve had a thorough check inside the deck, and now have a feel for it, it’s time to start dismantling.
First to go is the tonearm, in this case a Linn Ittok (rarely seen in black!). Once the plug has been removed from the bottom of the arm, and the bolt on the side [pictured] has been sufficiently loosened, the arm will lift out leaving only the collar on the armboard.

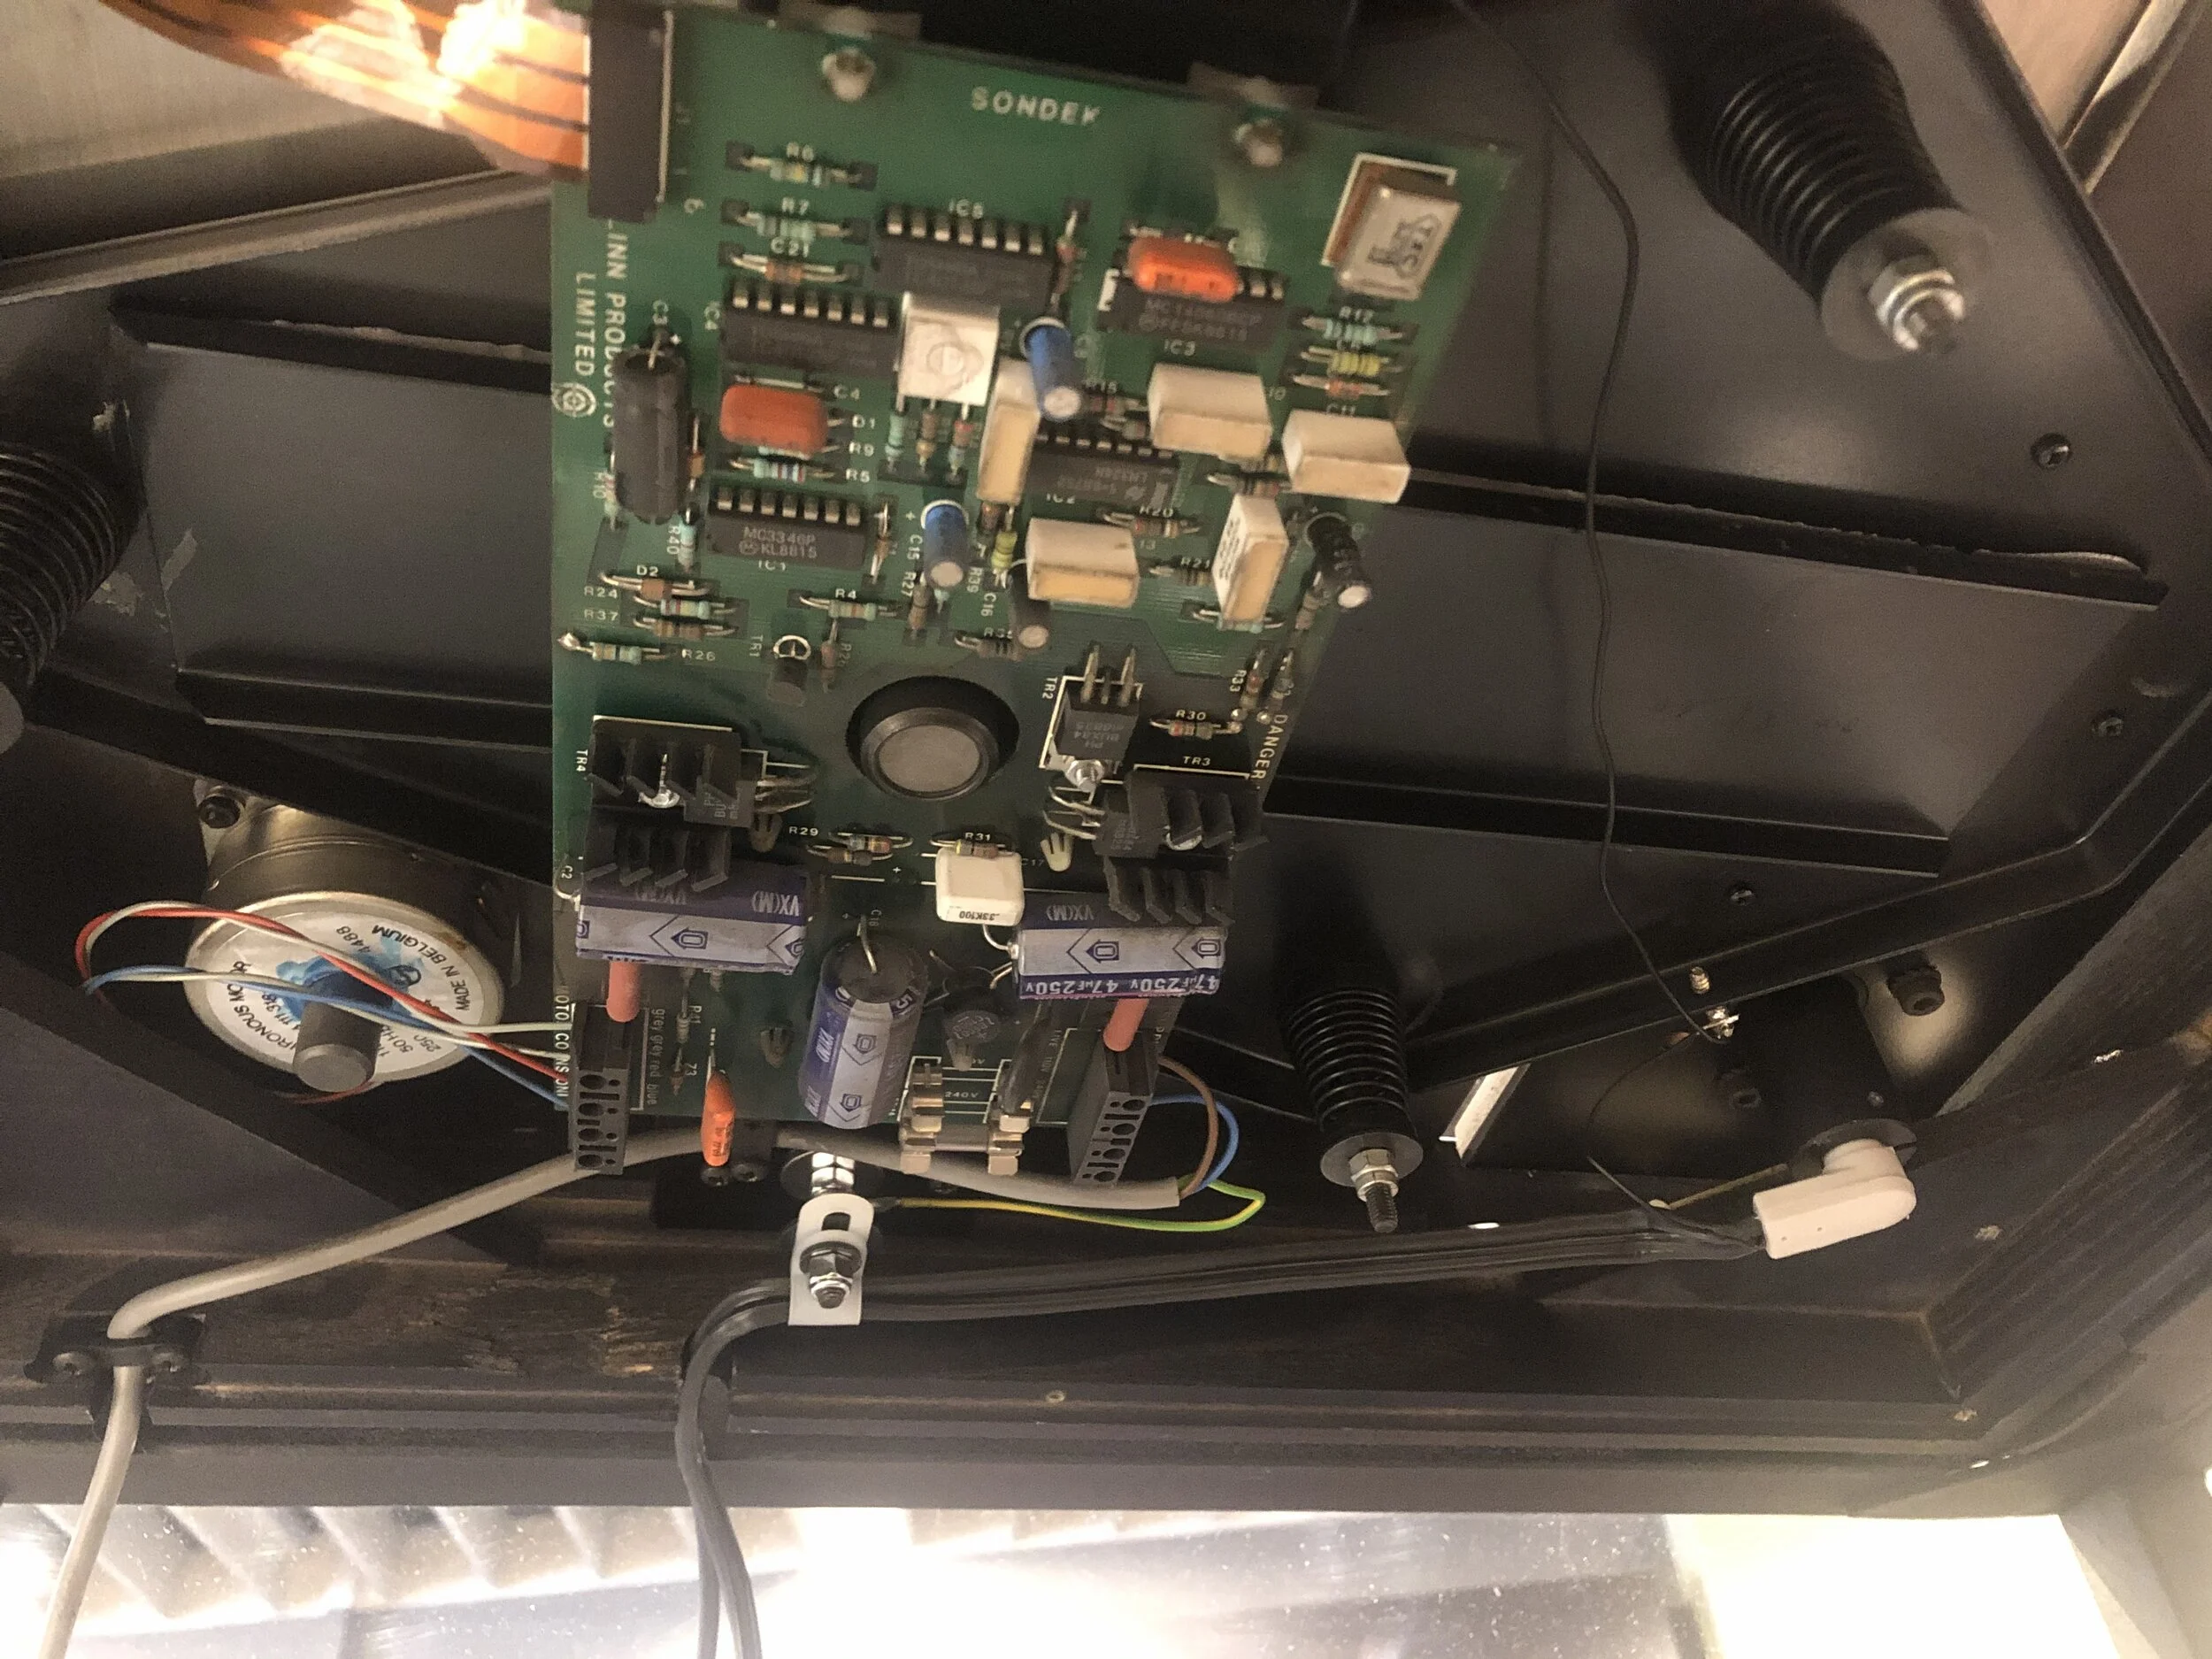
Valhalla PSU being removed - note the wiring strap it is bolted to!
Even if the Valhalla board doesn’t need to be sent away for service, it still needs to be removed for us to be able to strip the deck right back to the plinth.
Having a Valhalla serviced can bring an old turntable back to life, and as it’s no longer a current product, a service is the best way to keep your turntable the same spec.
This Valhalla is in great condition and functions perfectly so we set this aside for now.

Turntable after removing the sub-chassis.
Removing the sub-chassis is a bit more complicated than everything else so far. We remove the nuts, washers, rubber grommets and suspension springs, and set them aside as we’ll need them when rebuilding.
Sometimes on older decks the rubber grommets start to perish, becoming either too soft or too hard. If this is the case they’d need to be replaced when we come to rebuilding the deck.
The condition of these parts tells us quite a lot about the history of the deck and how it’s been looked after in the past. This is helpful when the deck is new to us
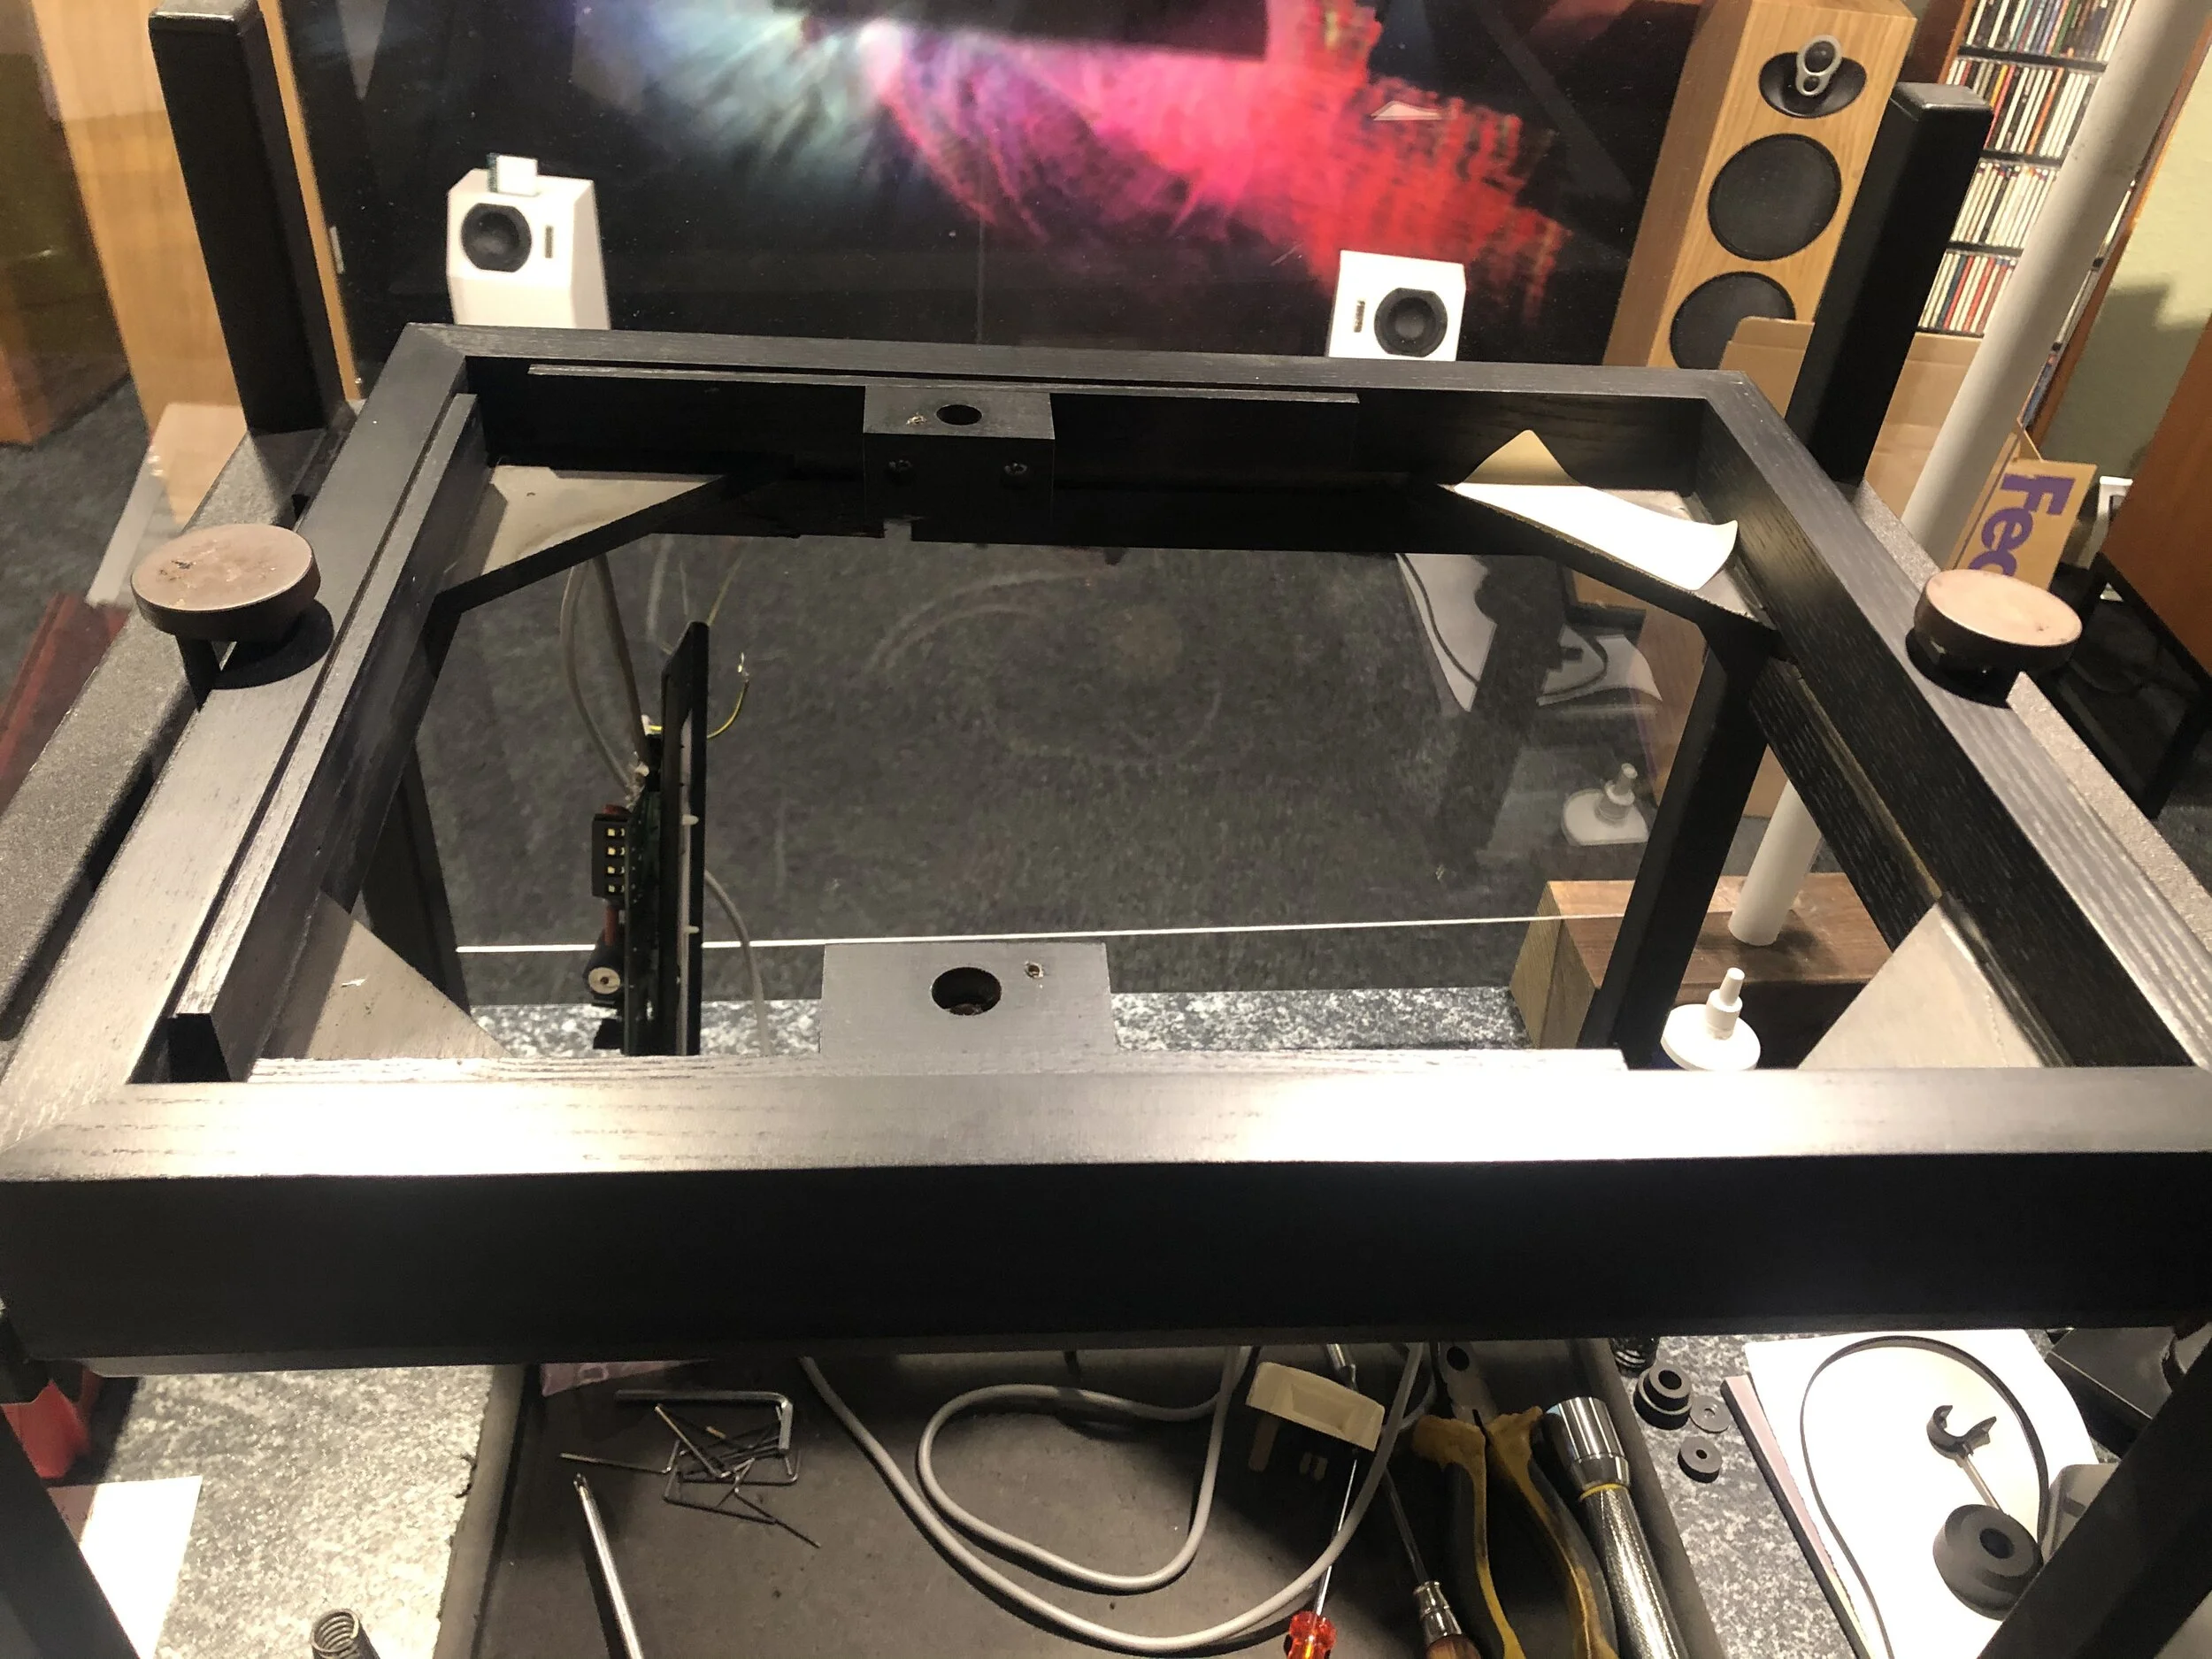
Once everything is removed, we’re left with the bare plinth!
Next to come off is the top plate. This is secured by two screws on the top (Newer turntables have a third fixing bolt to tighten the top plates connection to the internal bracing.). It comes off last because everything else is assembled around it.
While it’s off, it gives us the opportunity to clean it throughly. We also get the chance to check the fittings inside the plinth, and tighten any internal screws. All these small tweaks add up, and do make a difference.
Once the plinth is cleaned up and looking nice, it’s time to put it all back together again… this is where the attention to detail starts!
Putting it back together means just doing all of that in reverse, right?
Well, sort of. Not exactly. There are certain things we’ll look out for when reassembling. For example, the bolts that hold the springs could have a very slight bend, and that alone would be enough to stop the suspension from being 100%. Normally we’ll also change the nuts for newer ones to be sure they’re not going to slip!
First thing to go on is the top plate. What you see below is the big affect a light clean can have on the look of the turntable!

Before cleaning…

After cleaning!

We also always clean the pulley with a bit of isopropyl alcohol. Over the years, the rubber from the belts transfer a small amount of residue to the pulley, which can affect the way the pulley and belt interact with each other.
By cleaning it, we limit the chances of the belt slipping or sticking on the pulley, which will ultimately result in much more accurate speed, therefore your records will sound the way they’re supposed to!

Sub-chassis, armboard and inner platter replaced.
Now the guts go back in. This includes the sub-chassis, the wiring strap, with Valhalla in this case, the inner platter, and the arm. We put the sub-chassis in without balancing the springs for now, as this is the last part to be adjusted.
This means we are able to fit the inner platter and set the correct overhang.
Valhalla board with arm cable visible at the back.
The Valhalla wires are then reconnected. The arm cable [pictured right] still needs to be secured into position, but we’ll do this after the suspension is set.

Inner platter & Arm replaced.
The arm goes back on… the eagle-eyed among you will notice the cartridge change. This isn’t necessarily part of the service, however if you haven’t had the deck looked at in over 5 years, there is a strong chance you’ll need to think about changing or updating the cartridge.

The Linn Protractor in action.
Now is where it gets even more intricate, aligning the cartridge!
For this, we use the Linn Protractor [pictured right]. It’s important that the tip of the stylus is aligned properly on the protractor, so we minimise tracking error distortion across the whole side of a record.
The Linn protractor is also how we adjust the speed of the motor. You see those lines on the outer edge of the protractor? More on that later…

Using a pencil…
As well as aligning the angle of the cartridge within the arm, you have to adjust the height of arm at the bearing end to set the vertical tracking angle (VTA) of the cartridge. Usually the best setting is for the arm to be parallel to the record on the turntable. Using a square edged pencil, or a business card with parallel writing, on top of a record (don’t worry, it’s an old record we use for this exact purpose!), you can clearly see when you look along the side whether the arm is parallel to it.
This has to be done carefully as a very small adjustment in height can make a very big difference along the length of the arm.

One of the three suspension points from below (taken from another deck due to photo from the original black deck being far too dark)
The next step is to balance the suspension. A lot of effort goes into this part, and you need a huge amount of patience. Once the outer platter has been put on, the arm is secured and the belt is on correctly, we can start.
What we aim for is that when you ‘bounce’ the platter gently, that it bounces only up and down, and not side to side in any way. It can be hard to achieve, but when it is bouncing perfectly you can certainly see it. A very small adjustment to each suspension spring underneath can make a massive difference to the bounce. There are three suspension springs, and in order for the weight to be distributed evenly each spring will be at a different tension. Some springs bounce differently, and sometimes changing one of the springs is the difference between 98% and 100%. Another thing to note is that when you adjust one spring, it will interact with the others as well, so it can start to feel like you’re never going to get there. Very occasionally, you can only get to 98%, and you need to compromise. For example, this could be down to even the tiniest twist in the plinth that may not be visible to the naked eye. 98% is definitely enough for the turntable to perform really well, however, we strive for 100% every time.
Once the suspension is bouncing nicely, we start dressing the arm cable. There are some things to note when dressing the arm cable. Linn say that the cable should be “neither too taut, nor too loose. The position of the armboard should not change whether or not the cable is plugged into the arm, as this would indicate that the arm cable is pushing or pulling on the suspension”.
When we’re happy that everything is set where it needs to be, the bottom goes back on the deck and it’s nearly ready to listen to!!

How we measure the speed - The outer ring measures 33rpm, and the inner ring measures 45rpm.
Finally, we adjust the speed. This is where we get the Linn protractor out again. Using the lines visible on the outside edge we are able to measure the speed.
When the turntable is spinning and is up to speed, we look at the way these lines react inside the light emitted from the green LED, and this tells us whether it’s running too fast or too slow. When not using a Lingo 4 or a Radikal PSU, we are able to adjust the speed manually.
As with all things, there’s a certain amount of compromise needed between the two speeds, for example you have 45rpm set exactly right, but this puts 33rpm fractionally out. As the majority of us are probably mostly listening at 33rpm, we tend to make sure 33rpm is as close as it can be, and accept that 45rpm might be fractionally out.
So what does it sound like now?
Time to listen!
This is where we cross over into the dark side a little bit… believe it or not, the deck sounds different depending on the position of the belt. So we ‘listen to the belt’, and then turn it inside out and listen again. Then we turn it upside down and listen again. There are very small differences here, but enough that it’s worth getting it right! So we’ve got our belt on how we want, how does it actually sound? We want to make sure it’s consistently running at the correct speed and make adjustments if we need to. Always good to use an album you know very well at this point.
When setting the “VTF” - Vertical Tracking Force - for the cartridge, manufacturers usually have a minimum and a maximum tracking force. We’ll set it right between the two and adjust from there after listening. This is really down to the customers personal taste, and often they’ll want to adjust this themselves in their own room. We’ll generally play through both sides of a record, and listen out for oddities. In the event something is out, we’ll adjust accordingly and carry on listening. Once we’re happy that everything is working great, you’ll get the call to say the deck is ready!
*Please remember that this is only an insight into a typical full service, and not an instruction manual. Always have your LP12 serviced by a Linn authorised service agent with plenty of experience.
What about upgrades?
There are several excellent upgrades available for the LP12, and it can be confusing knowing which to do next. So the whole way through this process we’ll be thinking about what your next few logical upgrade steps would be, and we’ll always let you know our recommendations.
If you think your LP12 might be in need of a service, or you’re thinking about upgrades, then give us a call and we can have a chat about it!
See you soon,
John, Paul & Chris - Audio T Brighton
Keep up to date with everything that’s happening at Audio T Brighton by following us on Facebook and Instagram
You can have your LP12 serviced at the following stores: