

Servicing A Linn LP12 Turntable At Audio T Oxford
/With the current resurgence of both vinyl and turntable sales, we now see many customers who want to rejuvenate their classic Linn or Rega turntables.
Recently we had a client wishing to get the most of his large record collection. He bought in his elderly, early 1990’s Linn LP12, for us to service.
We hope you might find the work that this entailed interesting.

Levelling the Linn jig. If this is not done correctly, you will never be able to set up the turntable.

Ready to start work. Base board removed.

Ensuring chassis bolts are completely vertical. This is vital for a correct setup.

Replacing the bearing oil.

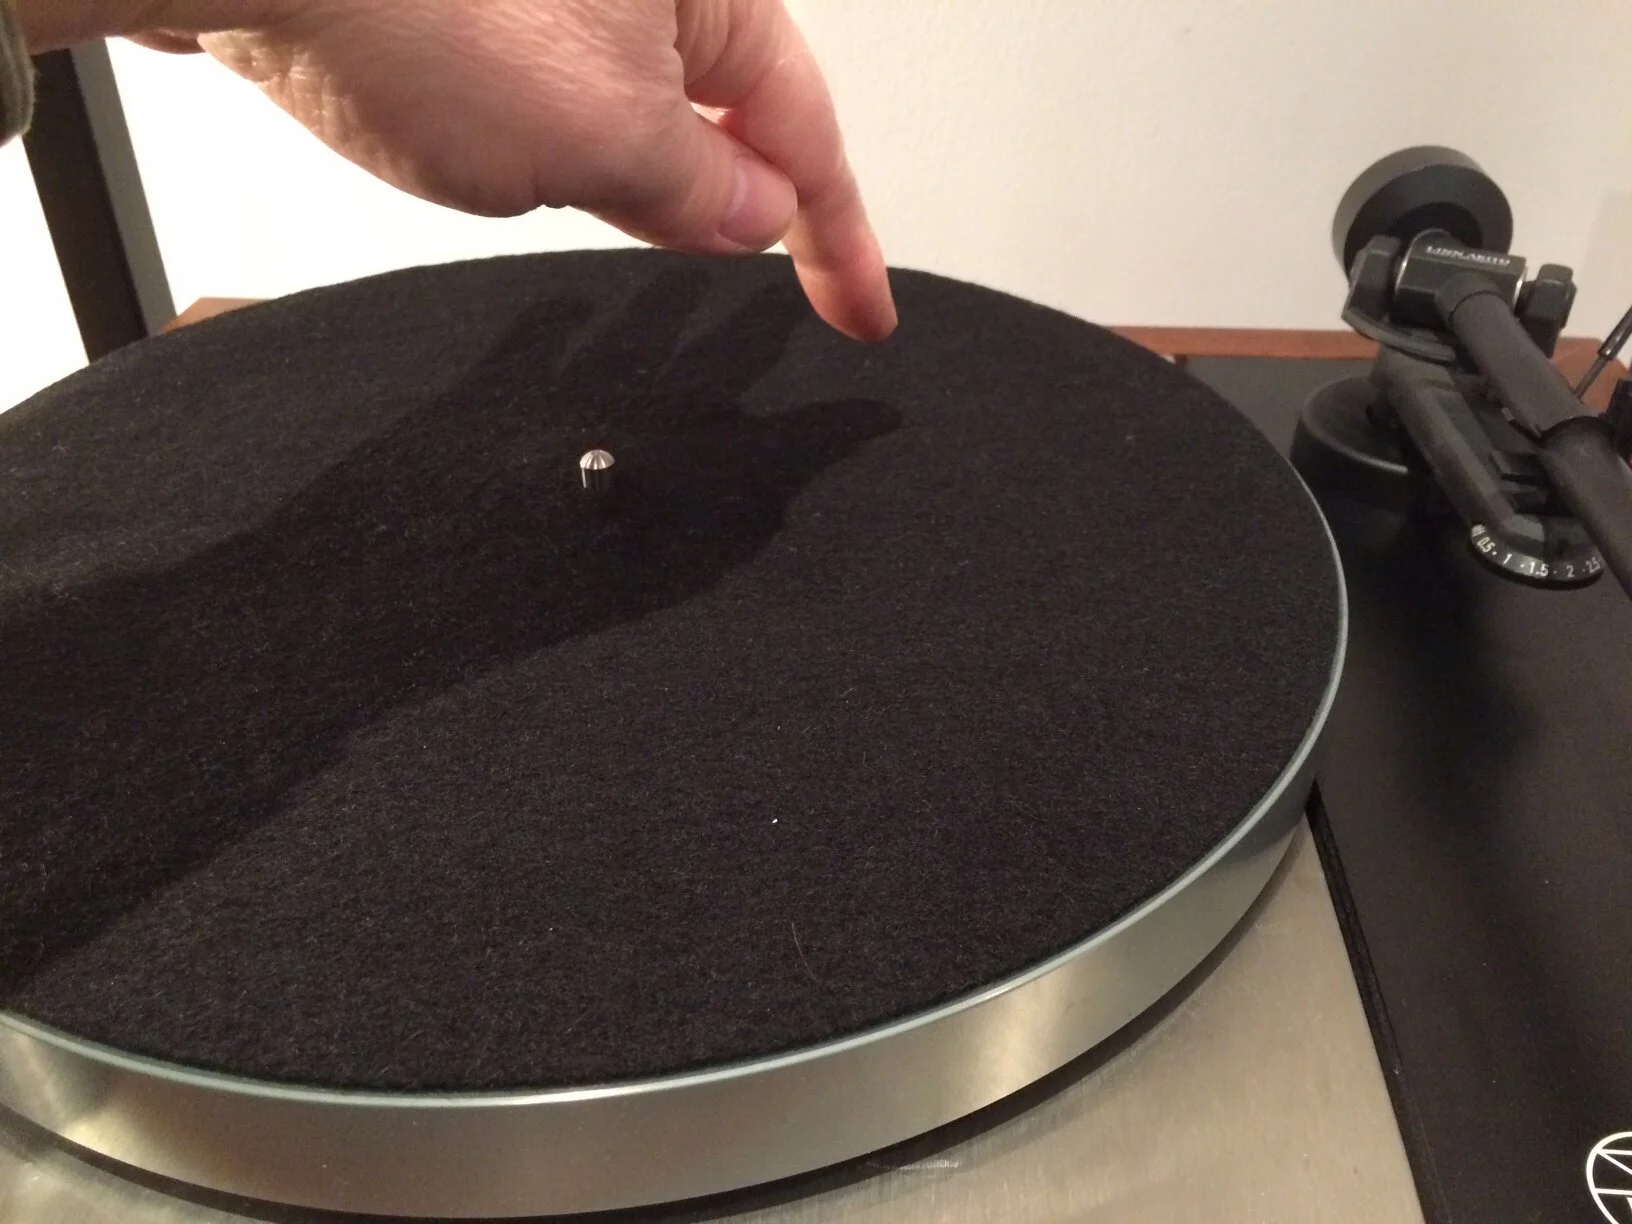
Refitting the inner platter, using gloves to avoid fingerprints.

Checking on belt orientation.

Checking on tonearm collar fit and alignment. While the tonearm is out, we will check its bearings.
Setting the correct ‘bounce’. An LP12 should have a nice, pistonic bounce, with a steady, even decay.

Setting the speed, using a strobe.

Setting the correct weight for the cartridge.
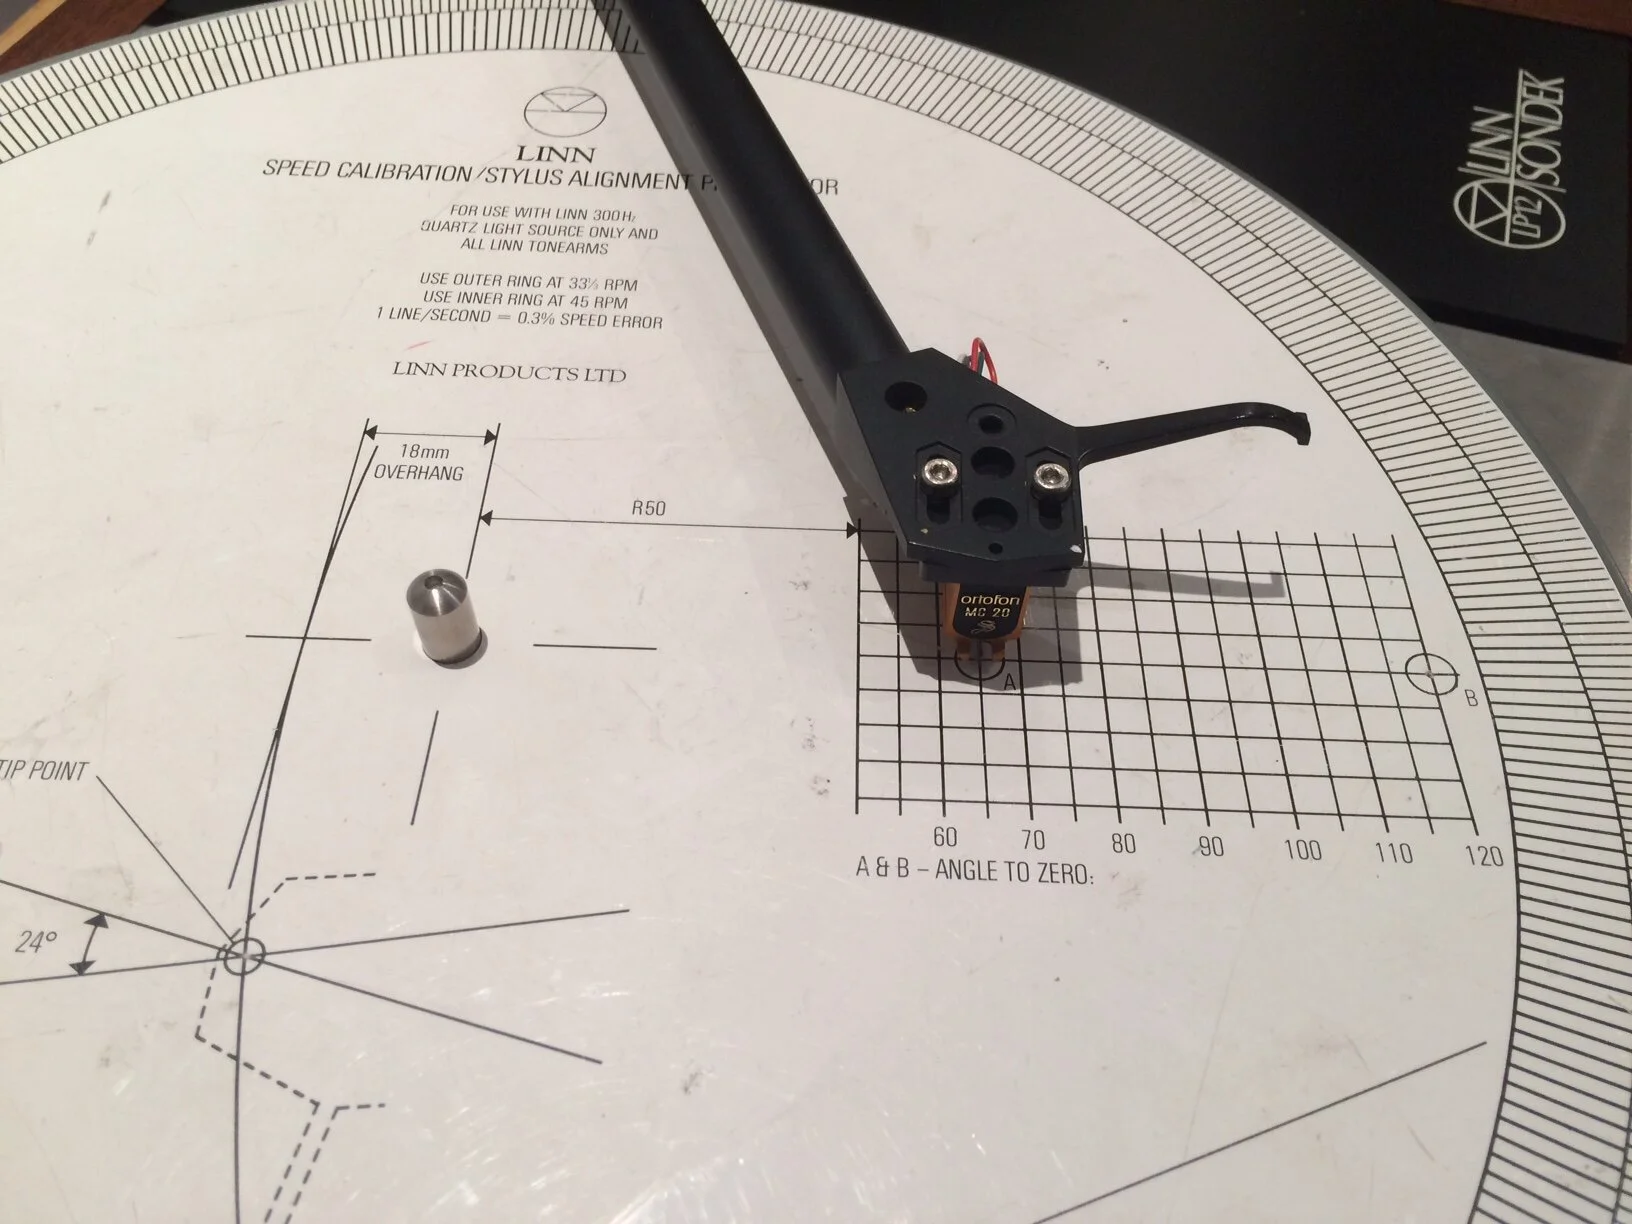
Checking cartridge alignment.
The finished turntable, now playing at its optimum, with added pep, life and soul.
If you own a Linn, we can service and also advise on the numerous upgrades that are available to further boost the sound quality.