

Michell Gyrodec Turntable Build And Set Up
/In this month’s blog from Audio T Cardiff we thought we would take you step by step through a Michell Gyrodec turntable build and set up..
The system we have chosen consists of Michell Gyrodec including Techno arm, HR power supply and Ortofon 2m Black cartridge. Leema essentials phono stage, NYTECH CP202/CPA402 and Spendor A1.

Displayed below we have the packaging of the Gyrodec including all relevant parts for building. We have removed the top section here, which contains the clear acrylic plinth with a fitted, hinged lid.

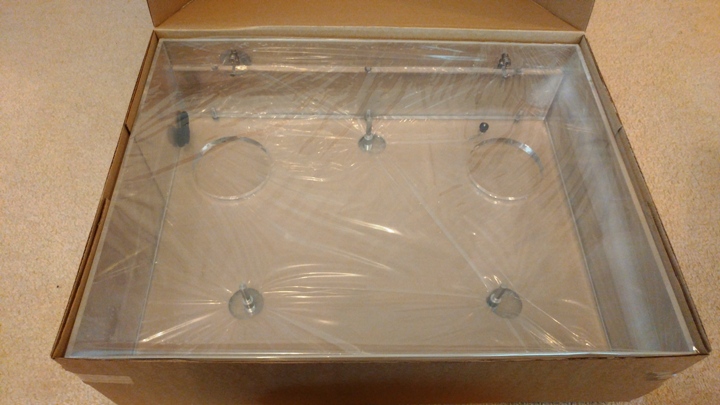
Acylic plinth with hinged lid.
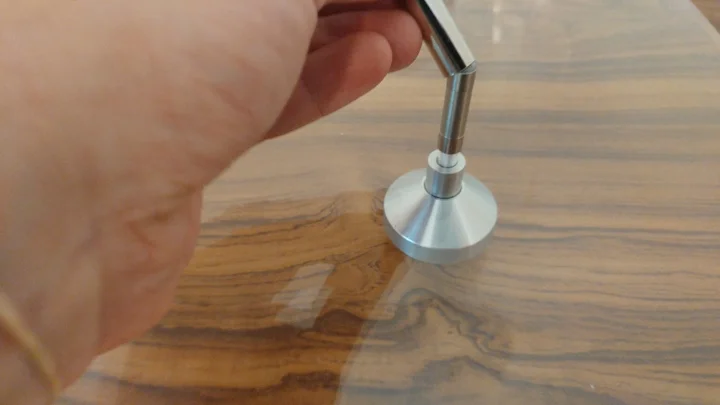
One of the first jobs in the build is to fit the adjustable threaded feet x3.

Now the feet are in place the plinth can be put in position over the separate motor housing. At this point we also level off the plinth by adjusting the threads on the three feet.

Plinth levelled correctly with motor in place.
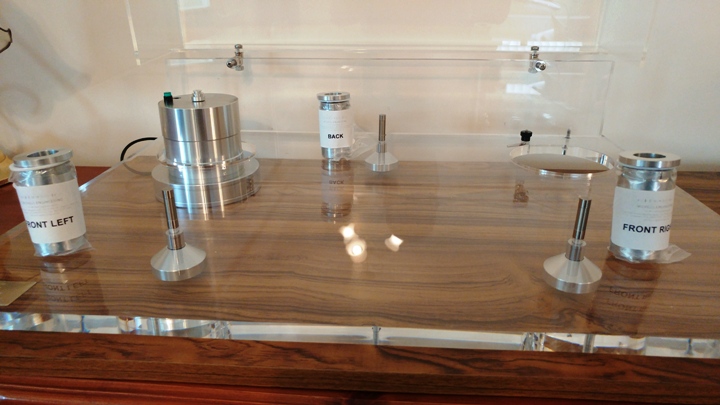
Next, you can see above the labelled suspension springs ready to be fitted to their relevant points and below the initial collar is being gently placed over the first spindle.

All three collars in place ready to take the suspension springs.

Suspension springs threaded onto the collar ready for adjustment.

Gyro chassis ready for the Techno tonearm.
Above we have the last spacer/thread fitting to the Gyro chassis and below the Techno arm being placed before being screwed down.
Offering arm to Gyro chassis.

Tonearm cables can now be dressed correctly on the underside of the chassis. The tonearm is earthed to the chassis.

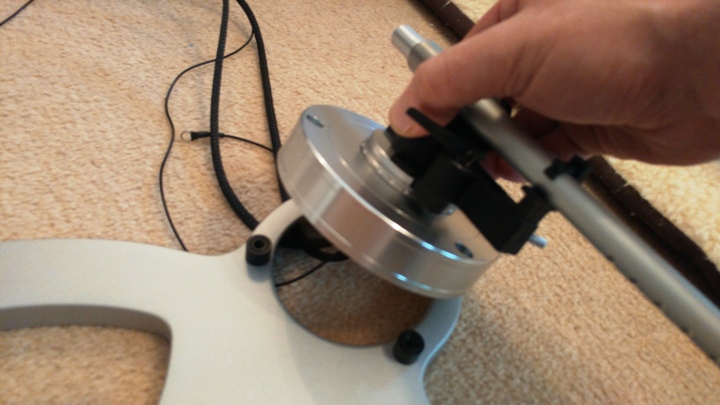
Chassis placed over springs with bearing with housing now in place
Above the cartridge has been fitted to the arm and the bearing housing has been attahced to the main chassis of the Gyrodec. The main chassis is then placed over the suspension springs ready for the platter and then levelling.

View from above before the platter is placed over the bearing and spindle.

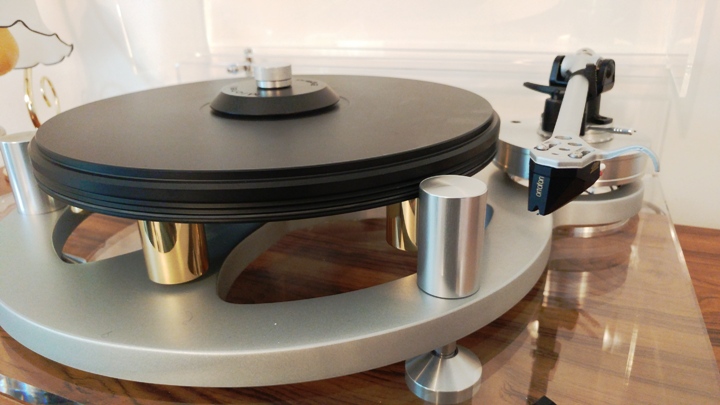
Platter in place from the front of the turntable.

Platter in place - view from above.
Once the platter is in place and the belt fitted around motor pulley and turntable platter we can level the suspension using the threads on the top of the suspension springs. Once the platter is level and the drive belt sits nicely on platter and pulley, we can start making adjustments to the cartridge position, arm height and lastly the tracking force for the cartridge. Before we continue with the arm and cartridge adjustments we can now fit the finishing caps to the suspension springs.

Arm height adjusted using the three point mount collar and thread.
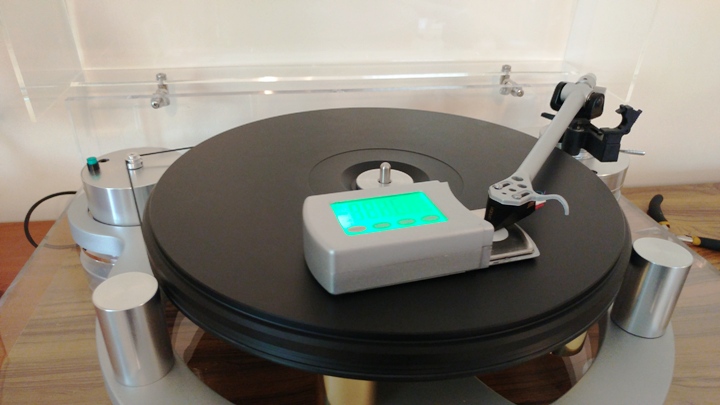
Adjusting tracking force for cartridge using the Pro-ject "measure it".
Michell Gyrodec complete with record clamp


Michell turntables are available to order from all Audio T shops. We currently have a Gyro SE on demonstration in Manchester, Enfield and Southampton so come and take it for a spin!