

Audio T Southampton Get DIRACTly To The Point!
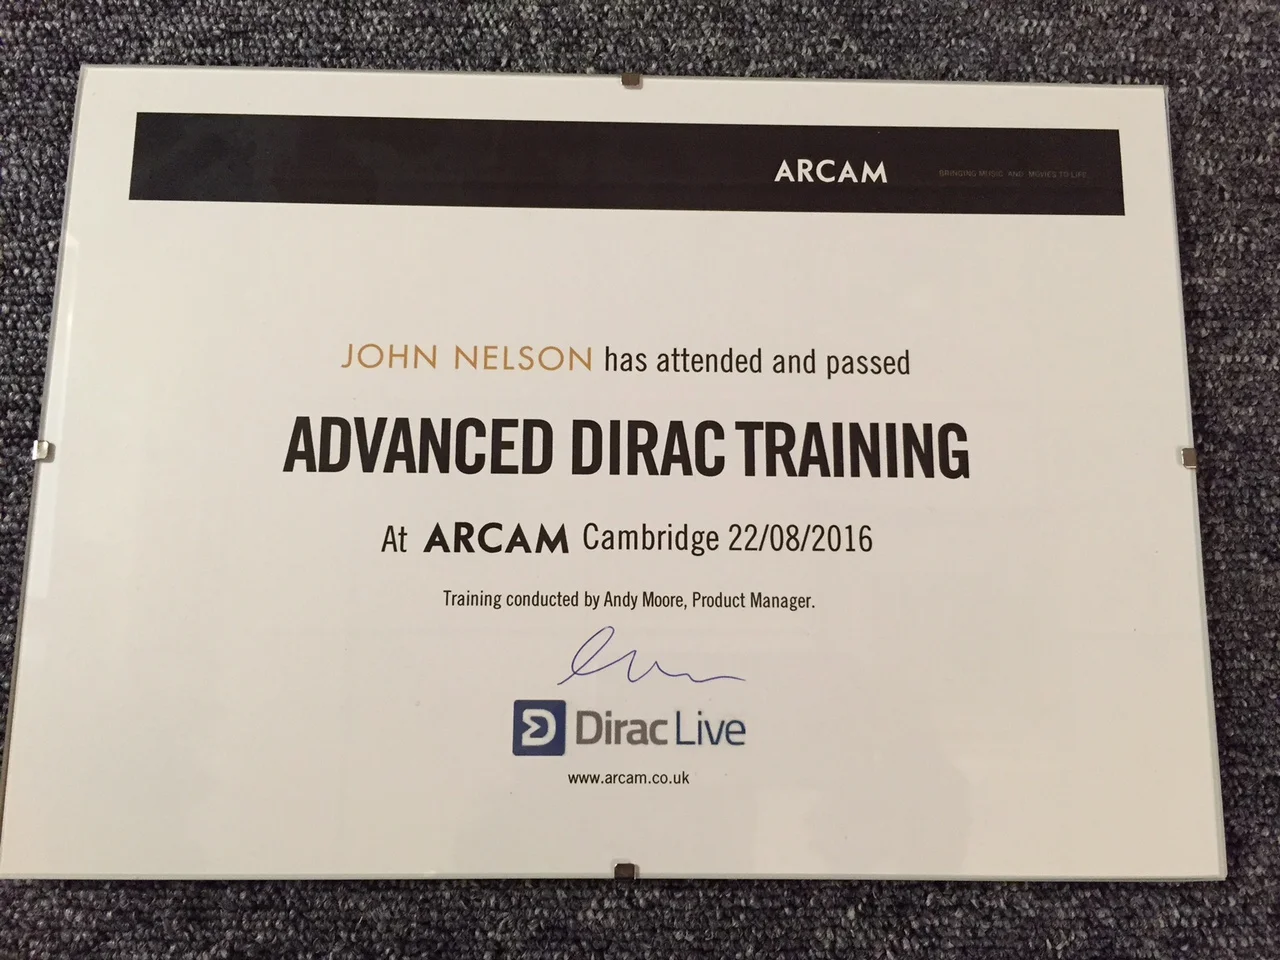
/Having just recently returned from Arcam's headquarters in Cambridge to complete my Advanced DIRAC training I thought I would take a few minutes to guide you through what it can do for your system in the context of one of Arcam's wonderful home cinema receivers.

Part one of the course was all about getting the basics of your system right, the simple things we all know but perhaps don't take the time to get right. DIRAC is a wonderful tool but it can only do so much, so it's important to get the fundamentals of your system right.
Firstly, set up your speakers so they meet the ITU standards for a home cinema system. This is the specifications that all mixing studios use to set up a 5.1 system so engineers travelling around the world know that as they go from studio to studio they will experience the same conditions for mixing their soundtracks. This is something that can be replicated within your home environment with a simple chart and a laser guide.

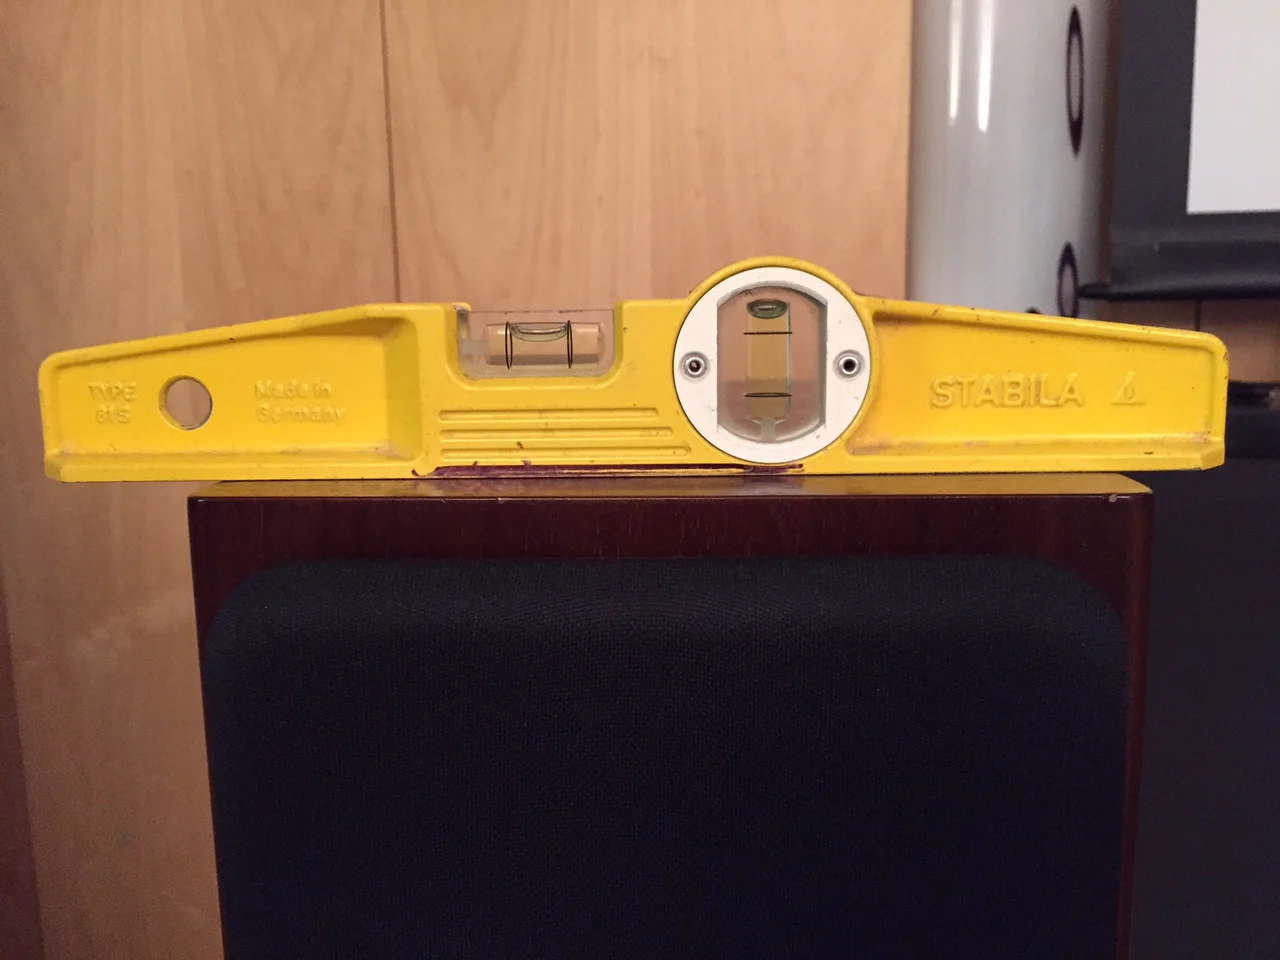
Make sure your speakers are level and don't rock and make sure your speaker stands are filled and don't ring, check your cables are all free moving and not twisted around mains cables. These are simple things that can make a big difference to your system before you begin any form of room calibration.
DIRAC as a room calibration tool is an incredibly powerful piece of software but it's only as good as how well you know the software and how to achieve the soundstage you are looking for, whilst retaining the things you loved about your system before applying DIRAC.
Taking the measurements is one of the early steps in the calibration process and there are several important things to take into account.

1. The first measurement is absolutely key. It has to be in the exact sweetspot for your listening position and at ear height.
2. You need to remove as much ambient noise from the room as possible. Turn off the projector if you have one. Aircon units can be very noisy, also ensure no noise intrudes from other rooms in the house. If the microphone can detect it then its going to affect your calibration results. If something happens whilst your taking any of your measurements, like the phone ringing or someone walking across the floor upstairs, the simplest thing to do is stop the measurement capture and start again.
3. Depending on your seating position you can use DIRAC to help make your sound stage more consistent. If you get a bass boost from your rear wall directly behind your listening position you can adapt your measurement points to counteract this and get a far more seamless bass performance across your listening position.
After you have completed your 9 different measurements its time to look at saving your progress before moving on to customising your EQ curves and counteracting room problems.

When it comes to using the software its always easier to take away than it is to add, so looking at your EQ measurements you should be able to see natural problems in your room below 400Hz. You are always looking to achieve a nice smooth EQ curve and if your room is giving you some things for free like extra bass weight at the really low end you can use this to your advantage without letting things get out of control.
Below are the recordings taken from our own demonstration room. It adds some energy at the really low end which I have attempted to keep whilst dealing with a fairly substantial bass suck at about 135Hz.

The target line in Orange is what DIRAC will try to achieve and the green line is how close it managed to get to the target line.

Above the 400hz frequency point most of the things you will see are the natural characteristics of the speakers you own. If you use DIRAC on its auto system it will try to implement the perfect speaker curve into the system but this will change the sound of the speaker you love and bought because of its sound characteristics. The key is to work with the software to emulate the original sound of the speaker whilst dealing with problems created by the room and interaction with items in your room. Here you can see the natural sparkle in the Monitor Audio speakers used in this calibration. They both measure a rise towards the 5Khz mark and I have emulated this within DIRAC to keep the characteristics of the speakers.

Listening is always the key, you can always go back and change things after everything is finished and make further fine adjustments.
The other thing to watch out for is high frequency break up. As speakers rise above 20khz they can begin to break up and will give odd measurements. You can use DIRAC to give an equal response to both speakers so they tail off to the same point in the very high frequencies.

Once you have finished your custom curves for all of your loudspeakers, including your Atmos in ceiling speakers, which you can now do after Arcam's last update, it's time to send your curves off to DIRAC themselves to do the number crunching for you.
After a few minutes you will get the results back of how close DIRAC has managed to get to what you wanted to achieve in terms of your custom EQ curves, This is represented by the green line.

Also very much worth mentioning is the amount of work DIRAC does in the time alignment and phase control domain. Shown on the picture below the spike on the left is the original impact response and decay from your speakers, On the right in green is what DIRAC have achieved, notice how much sharper the impact is and how much noise from the decay has been removed. This has the ultimate result of resolving more information from the system as detail could easily be lost in all the decay noise of that original impact.

A great example of this is Dolby's own Atmos demonstration disc where there is a track called Rainstorm. By the time you have used DIRAC and got your system singing it sounds as if there are twice as many raindrops compared to DIRAC turned off.
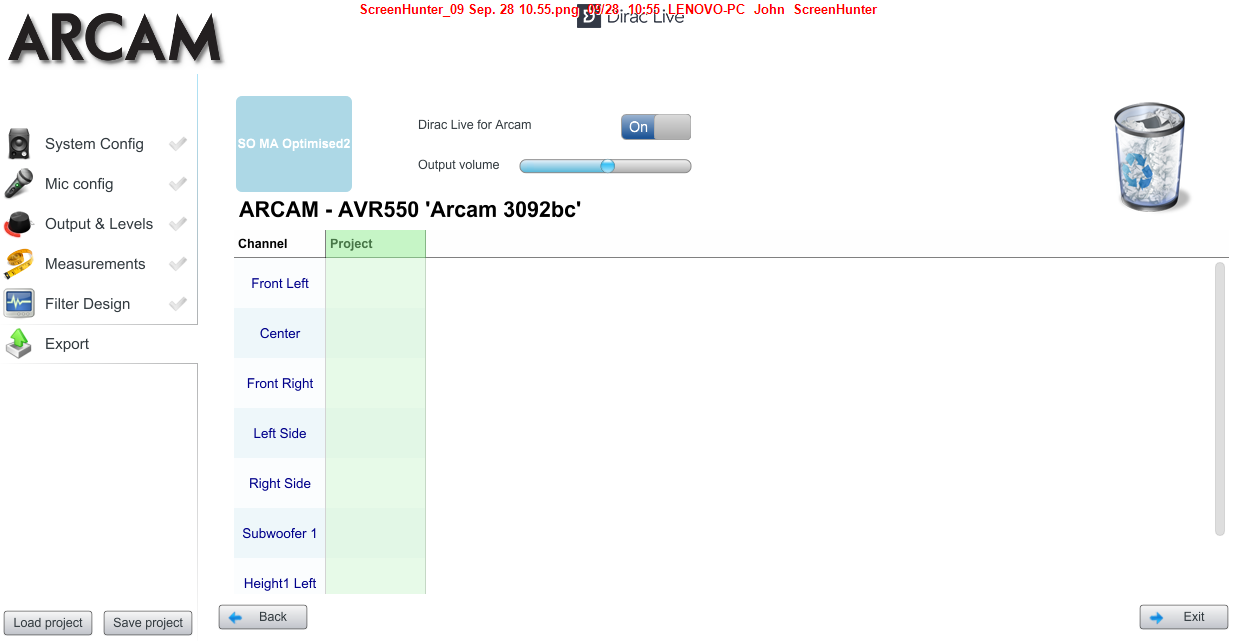
The final stage of the process is to drop your new calibration file into your Arcam AVR. This takes a few minutes to install into your receiver but once it does it is safe to start having a play and see how effective all the work has been.
Although the calibration programme will guide you through the set up and you can achieve good results with the microphone in the box , we would like to recommended that you get someone fully trained in getting the best out of DIRAC to come and set up your system for you. We have invested in a higher quality £350 calibration microphone and have the experience to get the best out of your system for you.
I find it hard to express how impressed I am with the results you can achieve with the system but with time and effort it will bring you a great deal closer to action or music than perhaps had been possible before.
Come in and see us to hear what Arcam's home cinema amps can do. The range will very soon include the new FMJ AVR390 which at just £1999 still features the same full DIRAC calibration system found in the AVR550 and AVR850 at £2699 and £4499 respectively.